
As the warm days of summer fade and the crisp autumn air moves in, gardeners everywhere begin to harvest the last of their tomatoes and peppers. But just because the growing season is winding down doesn't mean your garden's lifecycle is over. If you want to hit the ground running next spring, autumn is the most critical time to prepare your soil.
Whether you are growing in a standard wooden box or utilizing a state-of-the-art elevated garden bed like The Garden Bed by EnGrow, winterizing is essential. In this deep dive, we’ll cover exactly how to protect your living soil garden bed through the harshest months, the best cover crops to plant right now, and how having a garden bed with built-in drainage gives you a massive advantage when the winter rains arrive.
Understanding Planting Zones: What is Your Climate?
Before you can effectively winterize, you need to understand your USDA Hardiness Zone. These zones are based on the average annual minimum winter temperature, divided into 10-degree Fahrenheit categories. These are further divided into 5-degree increments, with the low end of the 10-degree zone being a and the high end being b. So any given zone will have an a or b modifier after the zone number, which adds a little more precision to the hardiness ratings.
For the context of this guide, we will focus heavily on Zone 7a (0-5°F), which includes much of the Pacific Northwest (PNW). The PNW is characterized by mild but incredibly wet and rainy winters. However, we will also provide actionable advice for colder northern regions and warmer southern climates in the U.S.

The Initial Winter Prep
So, what should you do first to prepare for winter?
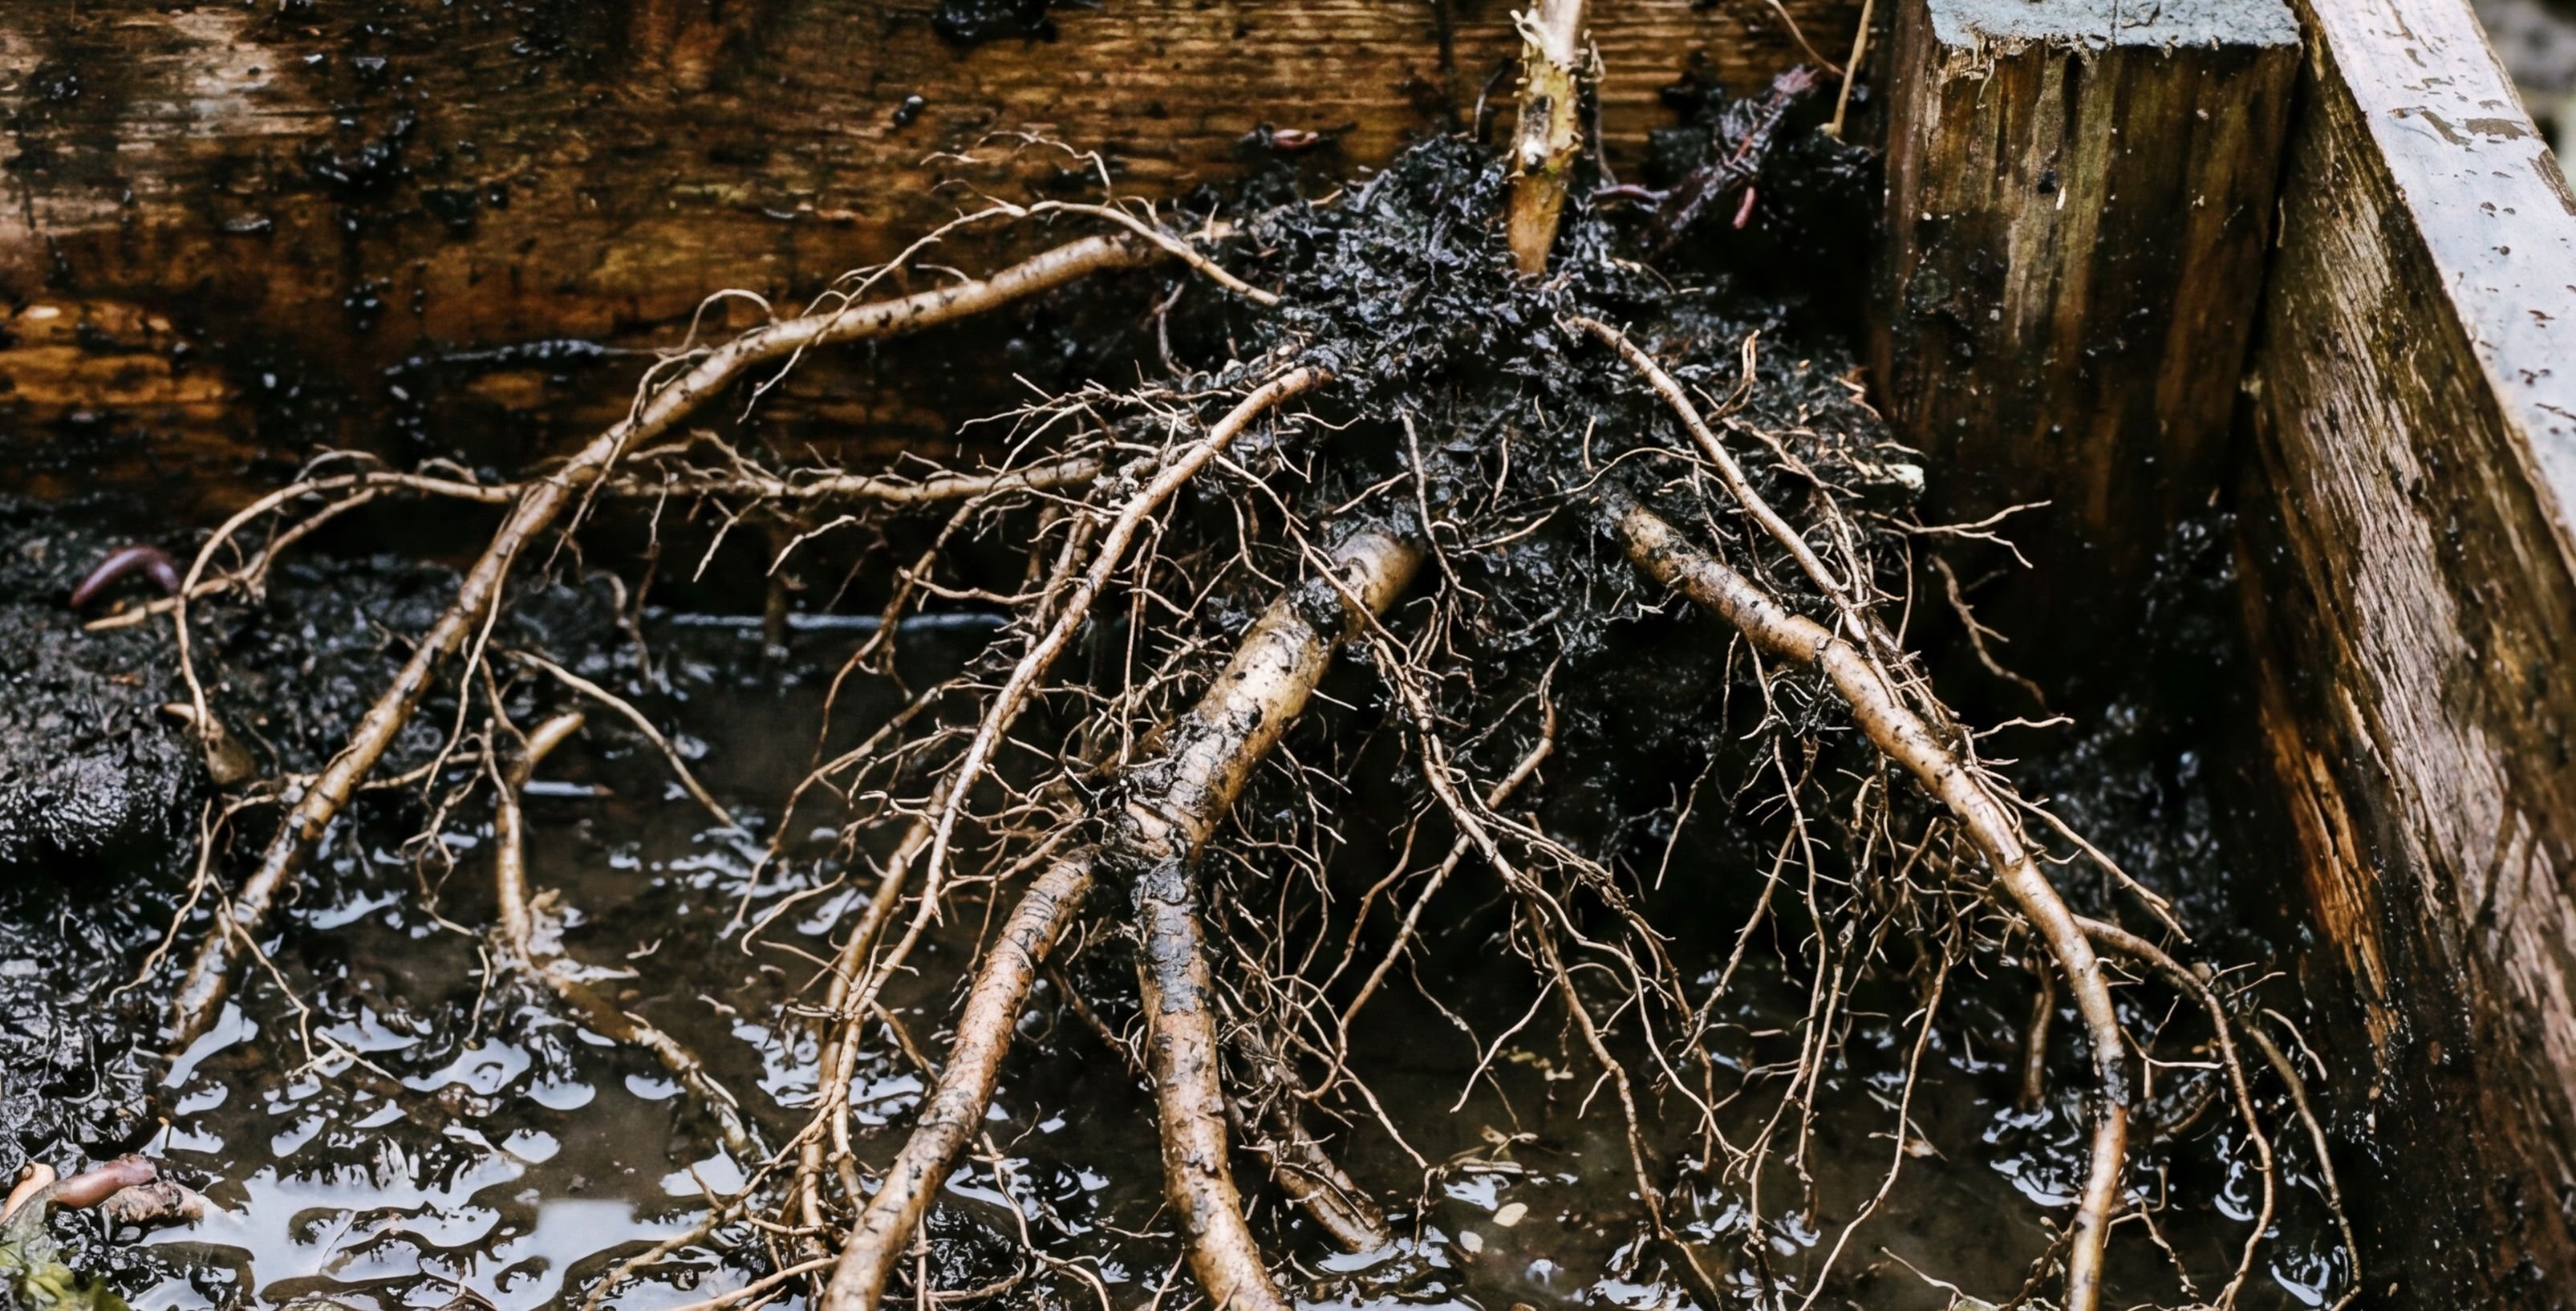
Remove Spring/Summer Annuals (But Don't Overdo It) First things first: remove any spent spring and summer annuals from your garden bed. However, you do not have to pull them completely out by the stem. In a thriving living soil garden bed, the decaying root systems of old plants act as an incredible food source for the microbiology, fungi, and beneficial bacteria in your soil. Simply snip the plant at the base and leave the roots in the ground.
If you're planning to plant cover crops, you may want to remove any leftover roots from the top 1/3 of your soil profile. This makes planting your new plants easier and reduces competition for them in establishing their roots.
The Exception: If the plants have extremely large, woody, or dense root structures (like massive brassicas or giant sunflowers), it is a good idea to pull a good amount of those roots out. Otherwise, they can dominate the soil profile and make it difficult to plant next spring.
Once your bed is cleared, you have two main paths forward: planting a cover crop or covering/mulching the bed.
Option 1: Plant Winter Cover Crops
Cover crops (often called "green manure") are plants grown specifically to protect and enrich the soil rather than for harvest.
Keep in mind the calendar: As of mid-September, the clock is ticking. You need to get these seeds in the dirt immediately before the soil temperatures drop too low for germination.
What are the best cover crops for varying zones?
- For Middle Zones (Zones 4-8, including the PNW):
- Hairy Vetch: An incredible nitrogen fixer that is great for preparing beds for spring. Because of its early fall plant time, you need to plant this right now in mid-September.
- Winter Rye: Another fantastic nitrogen fixer that thrives in Zones 4-8. It has an early fall planting time. When it starts to warm up in early spring, simply chop it down and turn it under the soil before it goes to seed.
- Fava Beans: A spring crop that slows down greatly in the colder temperatures of this range. Planted in early fall, their deep taproots help aerate the soil.
- For the Coldest Areas (Zones 3-4): Winter Rye is still your best bet here, as it is incredibly cold-hardy and will survive deep freezes.
- For Warmer Zones (Zones 9-11): You have a longer runway and can plant legumes like crimson clover, oats, or even continue growing cool-weather crops well into the winter.
What About Leafy Greens?
You might be wondering if you can just plant cold-hardy greens (which can survive down to 10–15°F) like Kale, Spinach, Swiss Chard, Mizuna, and Mustard Greens. Unfortunately, by mid-September, it is generally considered too late to plant these from seed in the PNW. While they can survive the cold, the decreasing daylight hours mean they won't have time to grow to maturity before winter fully sets in.
One of the big reasons we want to plant cover crops is to protect the soil structure, so that when it rains, the nutrients and biology are not flushed from your bed or damaged. With these leafy greens, even though they can survive the cold, they will be unlikely to establish quickly enough to help protect the soil through winter.
Option 2: The "Cover and Rest" Method (No Cover Crops)
If you decide not to plant cover crops, you should not just abandon the bed. If you are going to leave the bed outside in the elements, you must protect the microbiology you’ve worked so hard to build.
- Amend the Soil: Top your bed with a fresh layer of organic compost, fertilizer, or soil amendments.
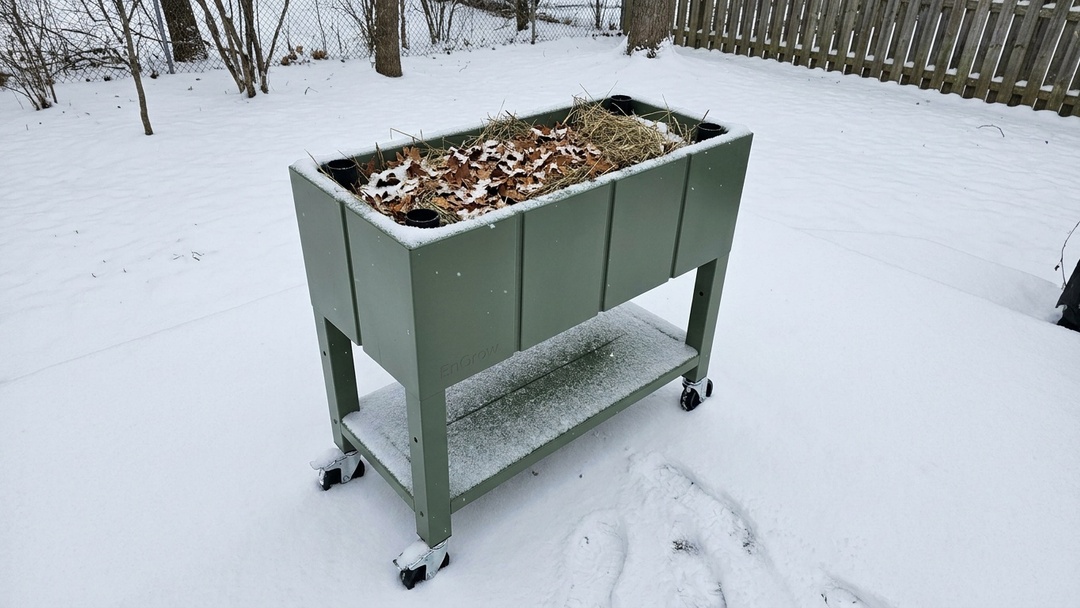
- Apply Mulch: Cover the amendments with a thick layer of mulch. Organic matter from around your property—like straw, hay, or dead, shredded autumn leaves—works perfectly.
- The Tarp/Bag Trick: To take it a step further, you can place a heavy-duty plastic garbage bag or tarp over the garden bed and tape it down securely. This is useful for preventing nutrient runoff due to heavy winter rains.
- Monitor Moisture: If you cover the bed with plastic, you must ensure the soil stays moist so the microbes survive. Usually, this isn't a problem because there are no plants actively drawing moisture from the soil, meaning condensation will maintain humidity for a long time. Still, it is worthwhile to pull back the cover and check the moisture levels every month or so.
Can You Combine Cover Crops and Mulch/Amendments?
Yes, absolutely! You can apply your fertilizer and a light layer of compost/amendments right before sowing your cover crop seeds. Make sure to mark where the seeds are, so that when you do add mulch you aren't covering your new starts up. Once the cover crop begins to sprout and gain some height, you can carefully lay down a light layer of mulch between the plants to protect the exposed topsoil while the cover crop establishes its canopy.
How Bad Is It If I Do Nothing?
What if you just walk away and leave your bed completely exposed all winter?
If you live in a rainy location like the Pacific Northwest, leaving the bed exposed is a recipe for disaster. First, bare soil invites opportunist winter weeds to take over, meaning you'll spend your entire spring weeding. Second, heavy rains will actively flush all the water-soluble nutrients right out of your soil, leaving you with depleted, sterile dirt by April.
The EnGrow Advantage: Drainage is Everything

This is where the type of bed you own dictates your winter success.
If you decide not to use a plastic cover to block the rain, it is extremely important to keep the drain open so that water does not pool at the base of the garden bed. In standard wooden raised beds, heavy winter rains hit the frozen or compacted earth beneath the bed, causing water to pool. This creates a stagnant, anaerobic swamp at the bottom of your soil that drowns beneficial microbes and breeds future root rot.
This is exactly why we designed The Garden Bed by EnGrow. As a premium elevated, mobile garden bed, it features a specialized EcoChamber™ and TrueSoil® technology. This ensures that even during the heaviest Pacific Northwest downpours, water will never sit stagnant at the base of the soil. The built-in drain allows excess rainwater to freely exit the system, preserving the perfect balance of oxygen and moisture required for a true living soil garden bed.
If you own an EnGrow bed and choose to leave it uncovered, simply ensure your drain valve is open and clear of debris. Let the EcoChamber™ do the heavy lifting of protecting your soil's drainage profile.
Protecting Against Winter Pests
Winterizing isn't just about the soil; it’s also about keeping pests from making a winter home in your beds.
- Clear Debris: Aside from your deliberate leaf/straw mulch, clear out fallen, diseased plant debris (like blighted tomato leaves) where pests overwinter.
- Hardware Cloth: If you are growing root vegetables late into the season or have a cover crop that local wildlife loves, consider creating a cage structure with bird netting or hardware cloth to keep hungry deer or birds at bay. Thankfully, the elevated nature of the garden bed means you don't have to worry about ground pests as much.
- Bed Covers: Frost blankets or floating bed covers can protect your late-season cover crops from both extreme frosts and insect pests.
The great part about the built-in PVC slots in each corner of The Garden Bed, is you can easily build the support structure required by the netting or frost blankets. Just like if you used it for trellising, the same C-PVC supports can be repurposed to protect your plants over winter.
Wrapping Up
Preparing your garden for winter is an investment in next year's harvest. Whether you choose to plant a lush green manure like Hairy Vetch or tuck your soil in under a warm blanket of autumn leaves, taking these steps now ensures your soil microbiology stays fed, happy, and ready to explode with growth in the spring.
And if you’re looking to upgrade your setup before the next growing season, consider investing in a garden bed with built in drainage like The Garden Bed by EnGrow. Your soil, and your future plants, will thank you.